WOOHOO! You made it to the end of the school year. Now, you have to wrap up and pack up all of our hard work… UGH.
I know every school has a different process for packing up at the end of the school year, so let me explain what I have to do.
Our custodians take everything out of our classroom to clean and wax the floors at the end of the summer. SO, we must make sure that everything is stored away on shelves and not out and about. Over the past 5 years of working at my school I have finally come up with a system that helps me pack up all the things AND get ready for next school year.
For each step I have an Instagram reel to go with it, so if you are a visual learner like me, be sure to watch the reels!
STEPS 1 & 2 REEL
STEP 1: PURGE
Go through ALL your things.
If you haven’t used it in the past year and you don’t think you will use it next year, throw it out or give it away. Just get rid of it! We have TOO much stuff sometimes as teachers.
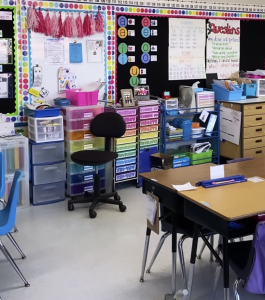
STEP 2: MOVE FURNITURE
Move it to look like it will next year
If I have an idea to move some things around for next year, I like to do it before the year ends. It is just one less thing to do when we get back in September.
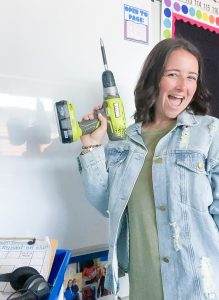
For example, we are getting a new Smart Board and they are putting it on a different wall. This is going to cause some furniture rearranging. So, instead of waiting until September to figure it all out, we used the last week and a half to get a feel for it. It was helpful that we still had our students so we could see what the new furniture arrangement would look like with students. We moved my teacher table, a ton of rainbow drawers and student desks to get a feel for the new arrangement.
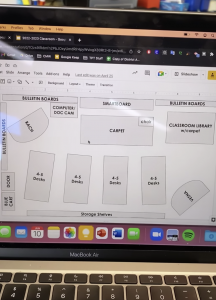
To help brainstorm the plan beforehand, I made a floor plan on google slides. This helps myself and my co-teacher visualize what we want to do AND we must submit one to the custodial staff, so we just print it and give it to them.
CLICK HERE TO MAKE A COPY OF MINE AND EDIT IT TO BE YOUR OWN!
STEPS 3 & 4 REEL
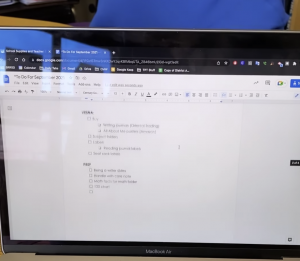
STEP 3: MAKE LISTS
Start to make purchases and lists of things you want for next school year. This includes things you want to purchase through your school order, things you are going to purchase yourself or things you want to do before next school year.
My co teacher and I start by completing our school order, then we make lists of things we still want to purchase. Lastly, we make a to do list of things we would like to get done before the first day of school! This includes things we want to do on break and things we will do when we have teacher work days in September.

STEP 4: MAKE COPIES
This might sound crazy but start making those copies! If you have time, start! Why not?! Your future self will thank you! You can store them away in the summer.
Less stress at the beginning of the school year!
STEPS 5 & 6 REEL
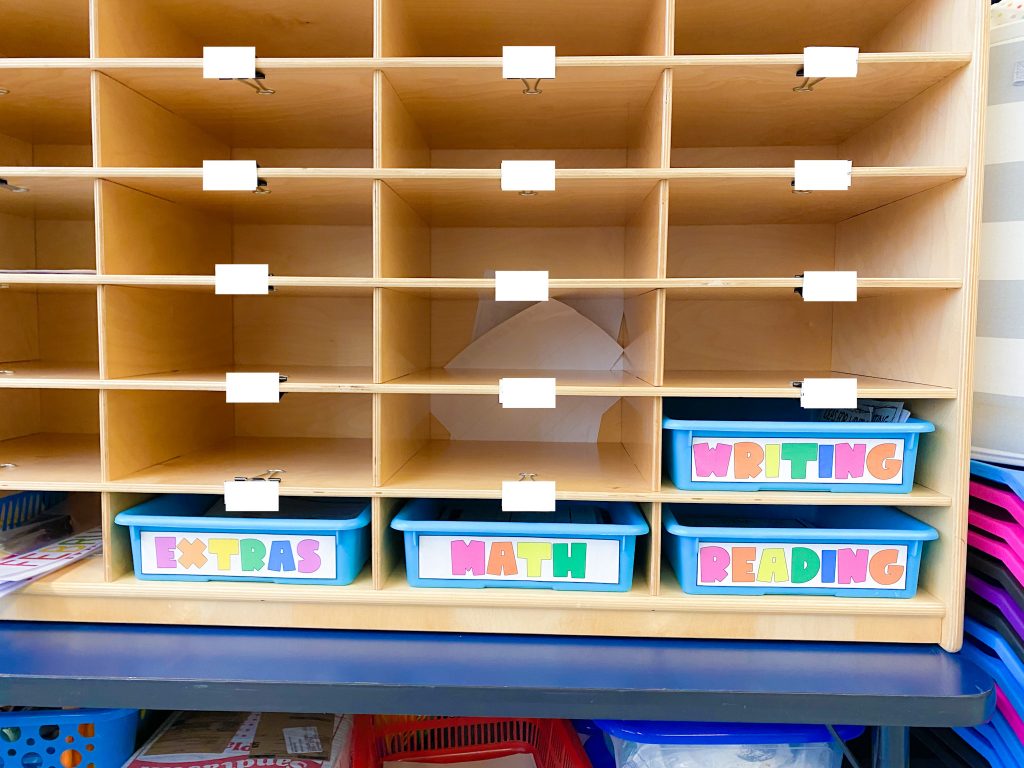
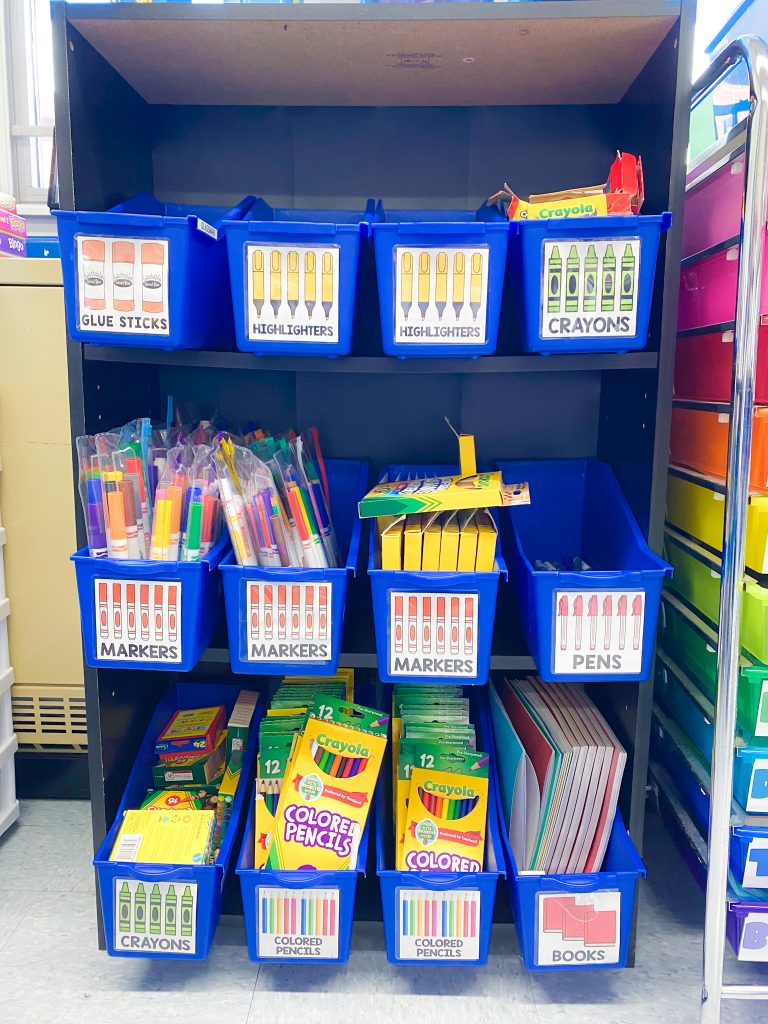
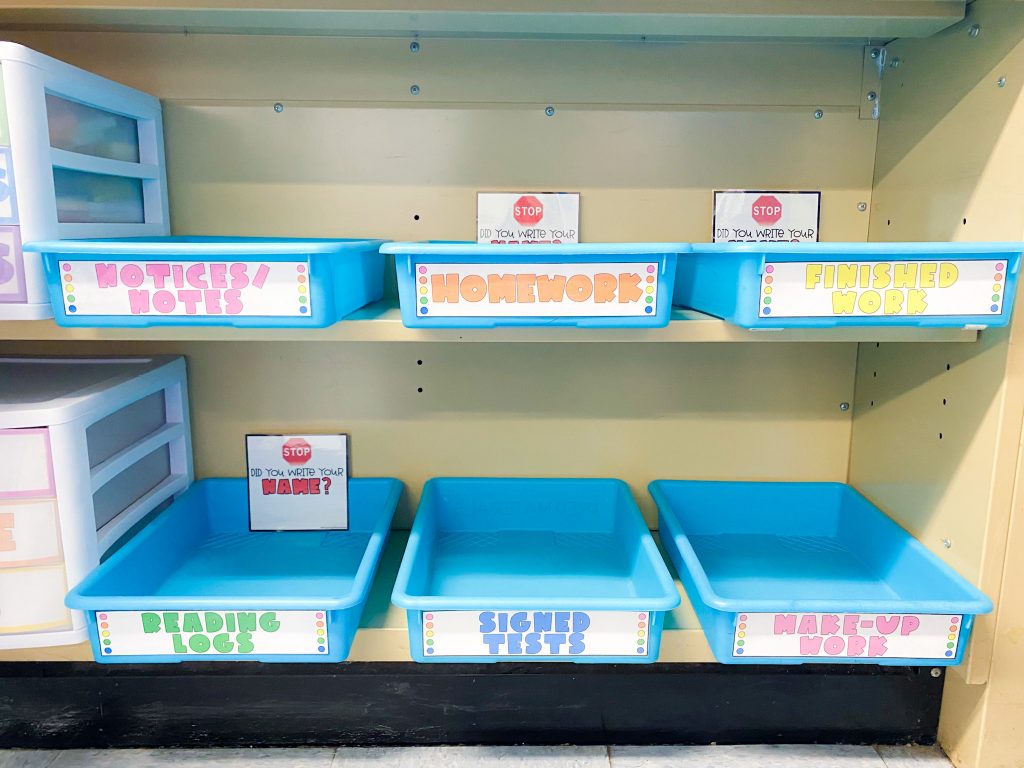
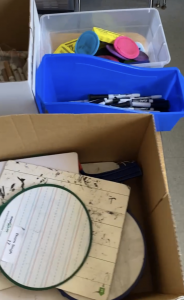
STEP 5: CLEAN OUT DESKS AND SORT
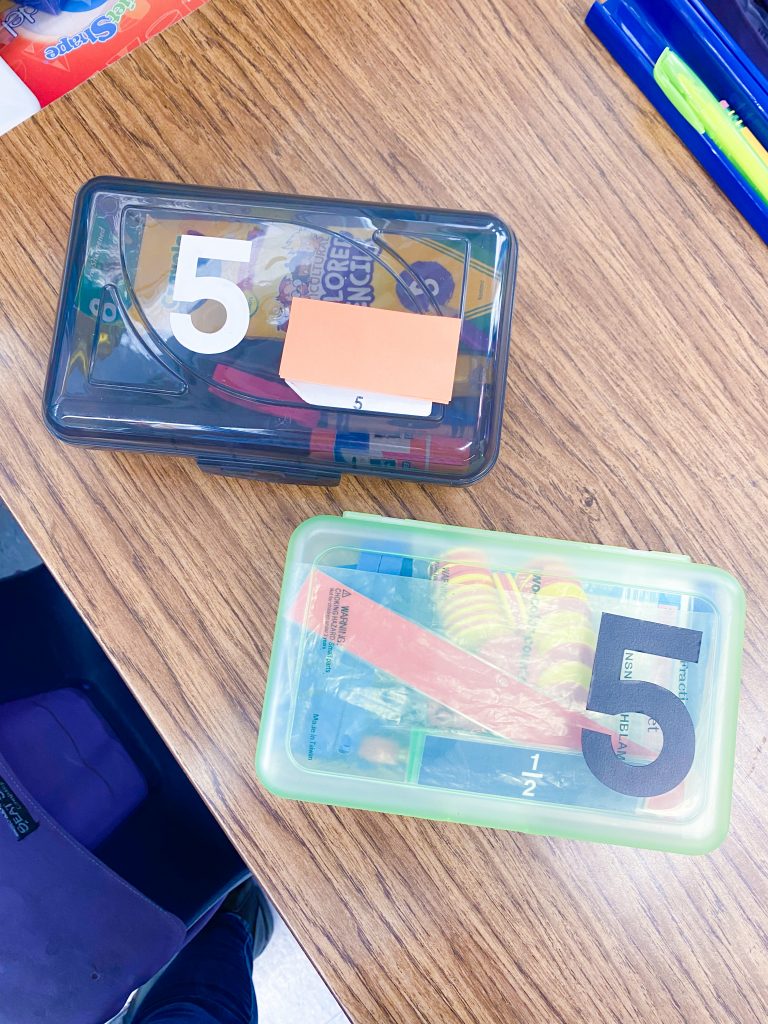
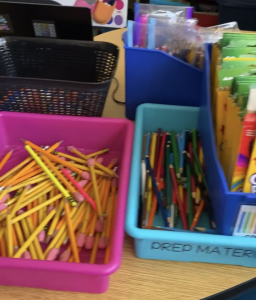
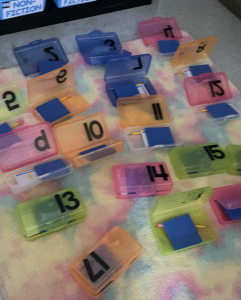
Do this while your students are still there. I had my students clear out their entire desk. Next, I had my students take home or throw out their folders and workbooks. Then, I had them help me sort through all the materials (pencils, markers, erasers, crayon, etc).
I even had my students help me RESTOCK pencil boxes for my students next year. This was the best decision I made in the packing up process. Again, one less thing to do in September.


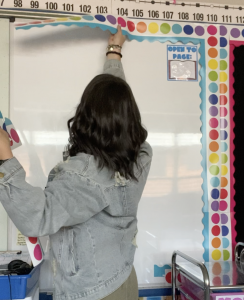
STEP 6: REMOVE THINGS FROM THE WALLS
This one is simple, and maybe not necessary for all of you. Since we are getting a new Smart Board and it will be on a different wall, we had to take down ALL our bulletin boards.
This step can also be to just cover up your bulletin boards, so they don’t fade or get yucky over the summer. You can cover them up with cheap table clothes from dollar tree, butcher paper or sheets.

STEPS 7 & 8 REEL
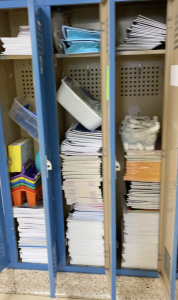
STEP 7: STORE AWAY
Over the summer there is ESY (Extended School Year) at my school, so admin wants us to store our stuff away so that the teachers in the summer don’t use our things. Also, after ESY is over our custodians clear out the entire room, clean it, and then wax the floors. This means our stuff needs to be packed away, so everything doesn’t fly around as they move the furniture in and out.
I take everything that is on top of shelves and store it in a shelf OR put it in lockers in the hallway. The lockers really come in handy.

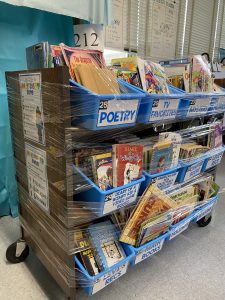
STEP 8: COVER ALL THE THINGS
Reel
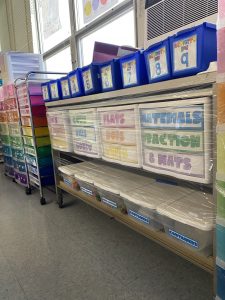
Once everything is stored away on shelves, stationary or moving ones, they have to be covered up! For the stationary shelves that can’t move, I just use butcher paper (bulletin board paper) to cover everything up.
For rolling carts and shelves I discovered a new hack this year… PLASTIC WRAP! I wish I could give credit to the first person that posted this hack, but I can’t find her.
I bought these 2 rolls of plastic wrap on amazon and used them to wrap ALL THE THINGS! It was a huge game changer. In the past I have used tape, but the tape leaves a terrible residue after the summer heat. This plastic wrap was the perfect solution.

I hope that you found this helpful and not overwhelming. I promise you, if you go into the end of the school year with a plan and steps to follow, you will be less stressed! Let me know if you use any of these tips! GOOD LUCK!