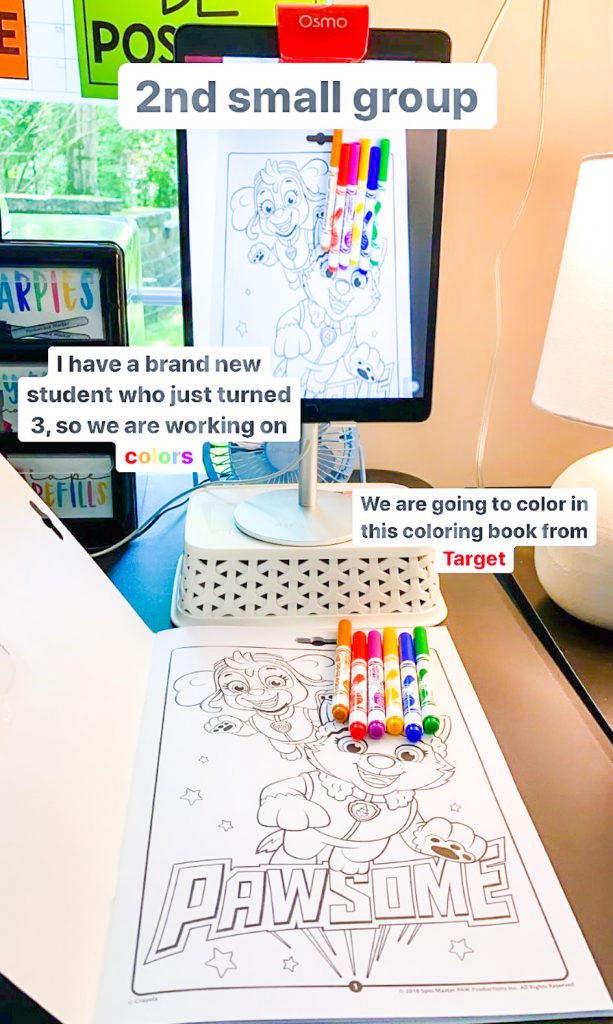
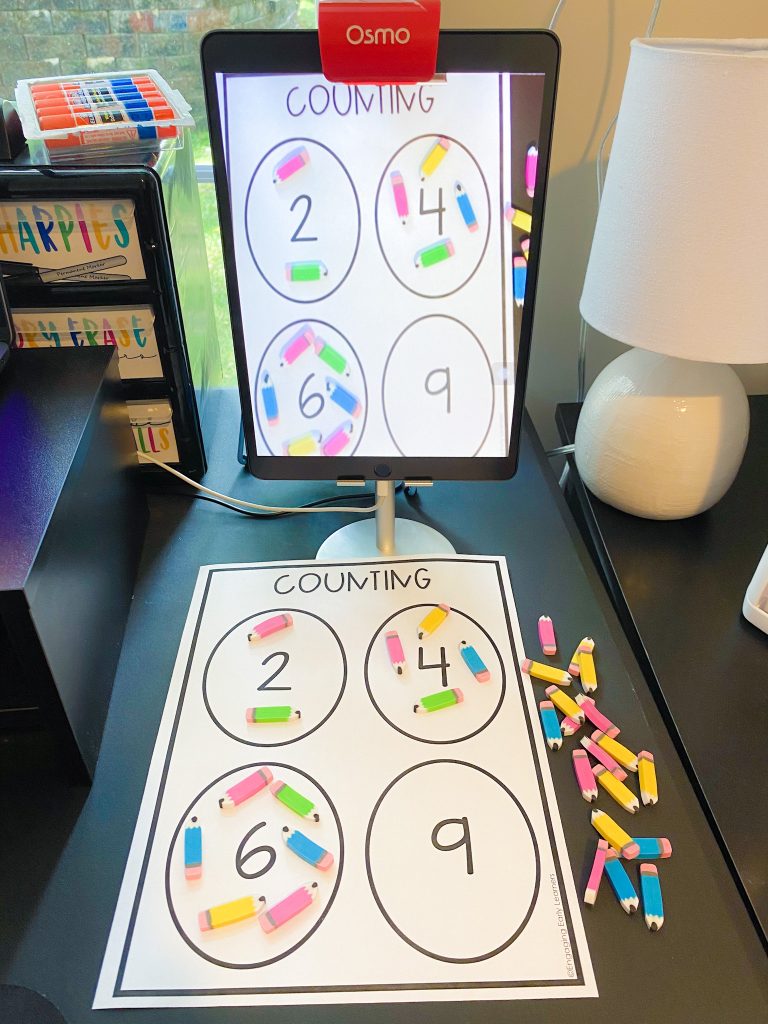
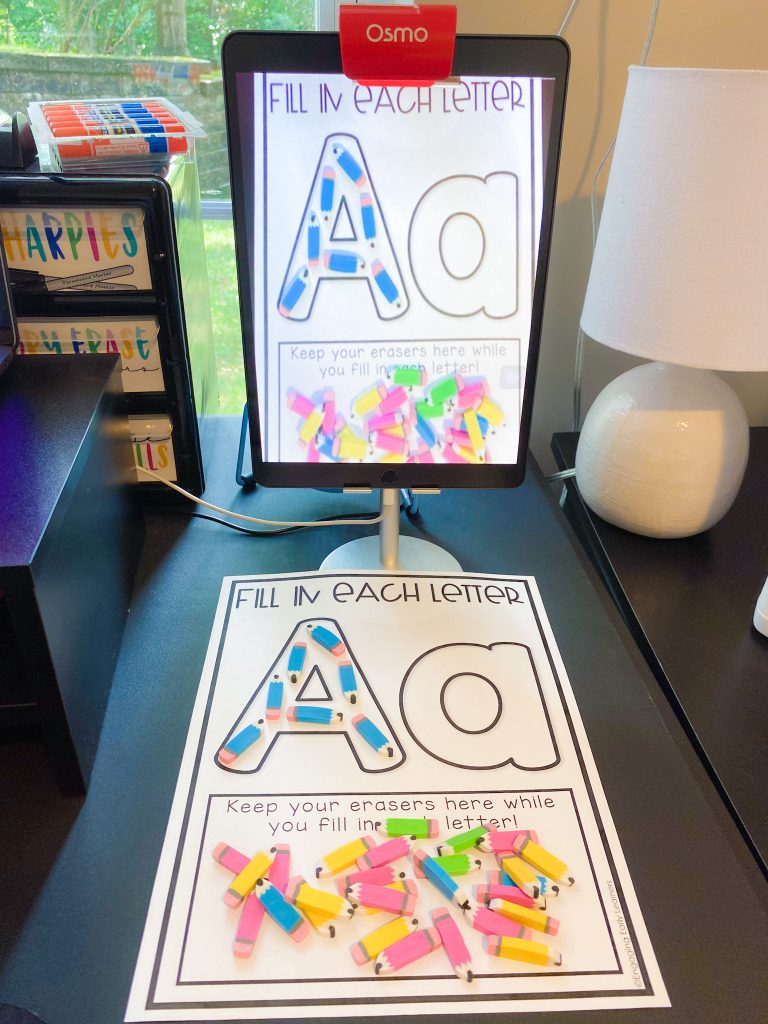
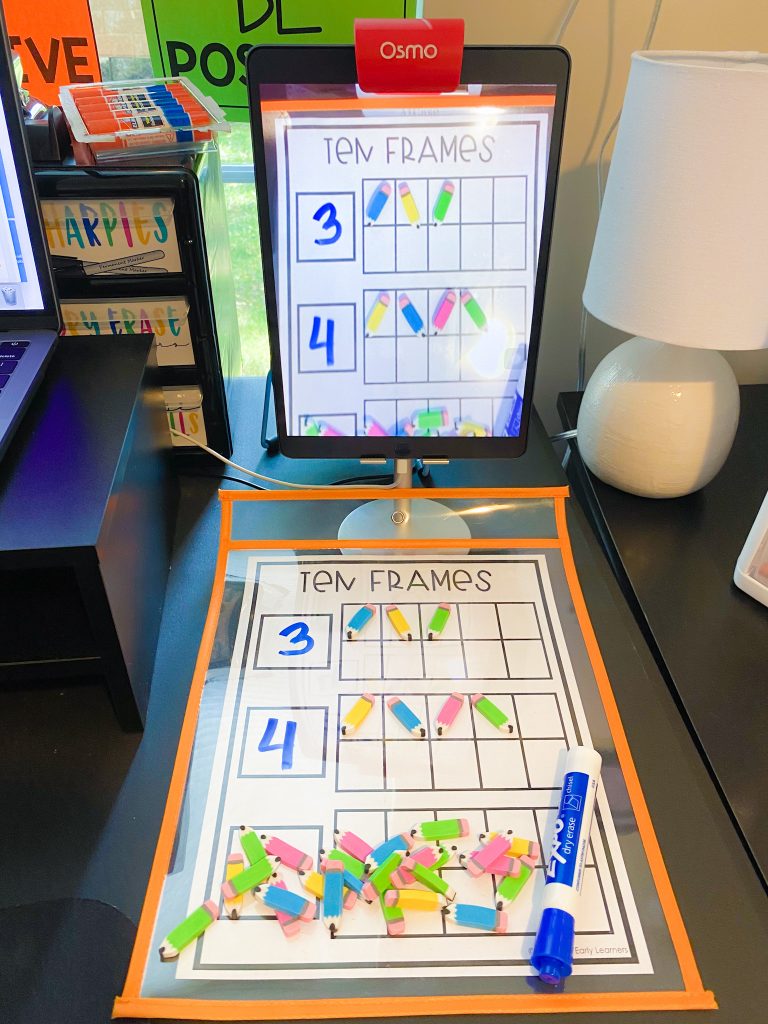
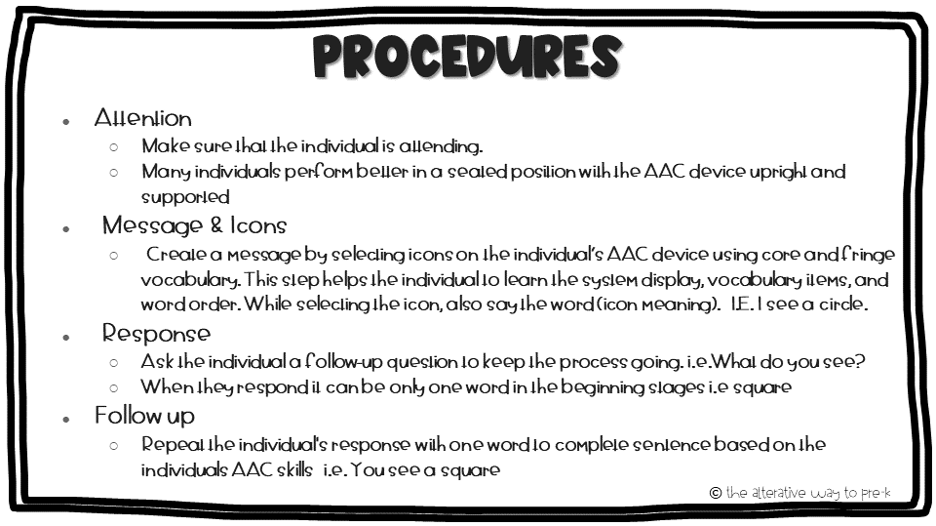
During distance learning I was struggled to find a way to assess my students properly. Typically, I assess their general academic skills 2-3 times a year to make sure that they are making progress and to update their IEPs (Individualized Education Plans).
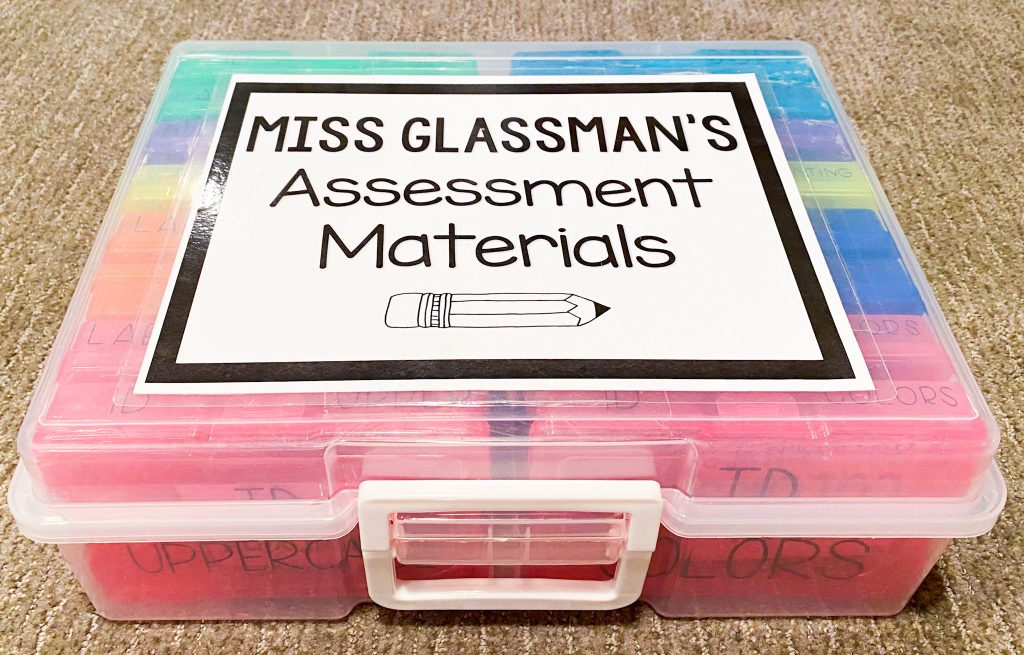
I brought home my assessment bin with all of my assessment materials in it, in hopes that I would be able to assess most of my students. This was not easy through the computer.
I found myself holding up flashcard-type materials to the camera on my computer, while also trying to move my head in a certain way so that I can see the child and make sure that they could see what I was holding. Picture that for a second…it wasn’t a good sight.
I knew that this method would not work long term, and I had a feeling that I was not the only teacher with this problem. As distance learning continued through the rest of the school year and ESY it was pretty clear that we would not be able to return in the Fall like we typically do. We were either going to have a hybrid model where students come every other day or we would be going fully virtual. As this became more obvious, I knew I had to do something for other teachers to be able to effectively assess their students while at home, as well as in the classroom.
That is when the DIGITAL ACADEMIC ASSESSMENT came to life!
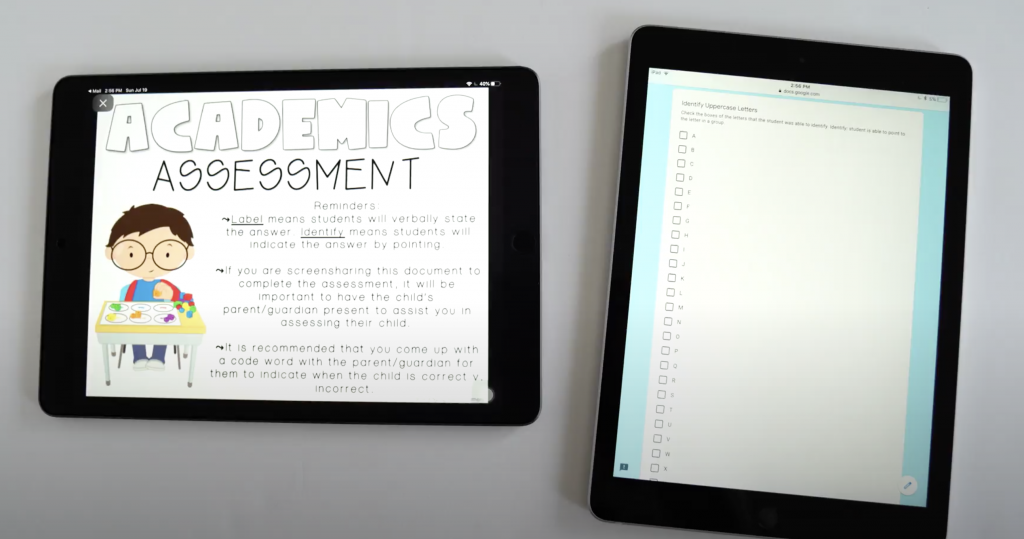
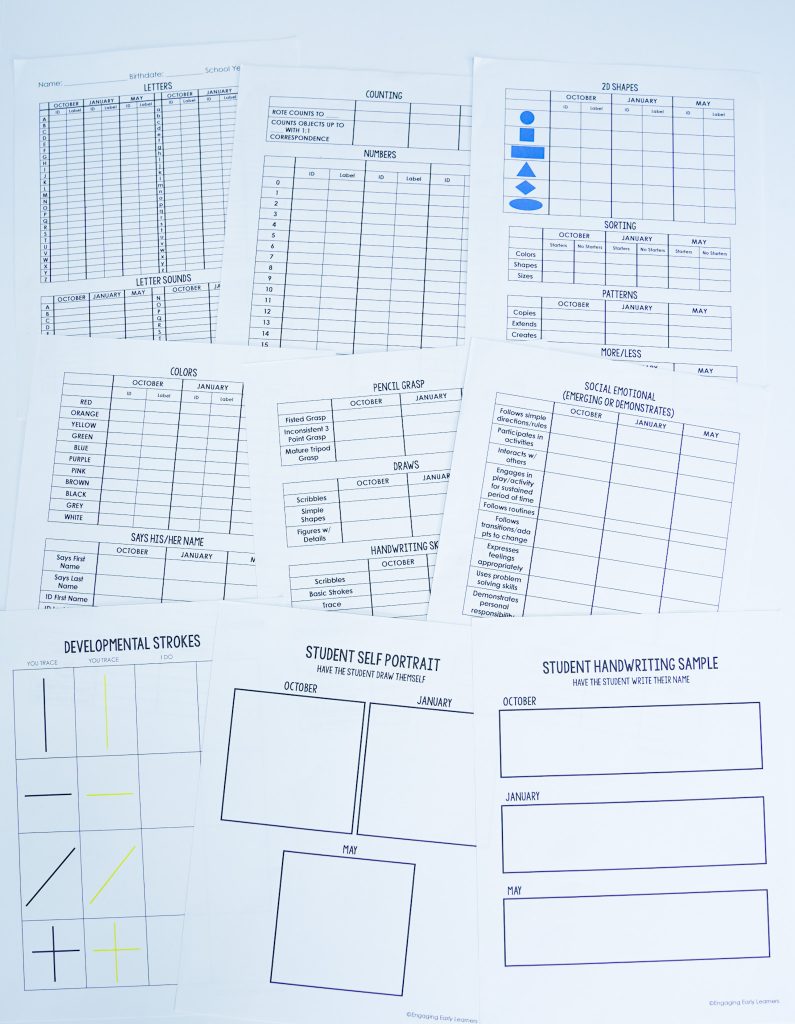
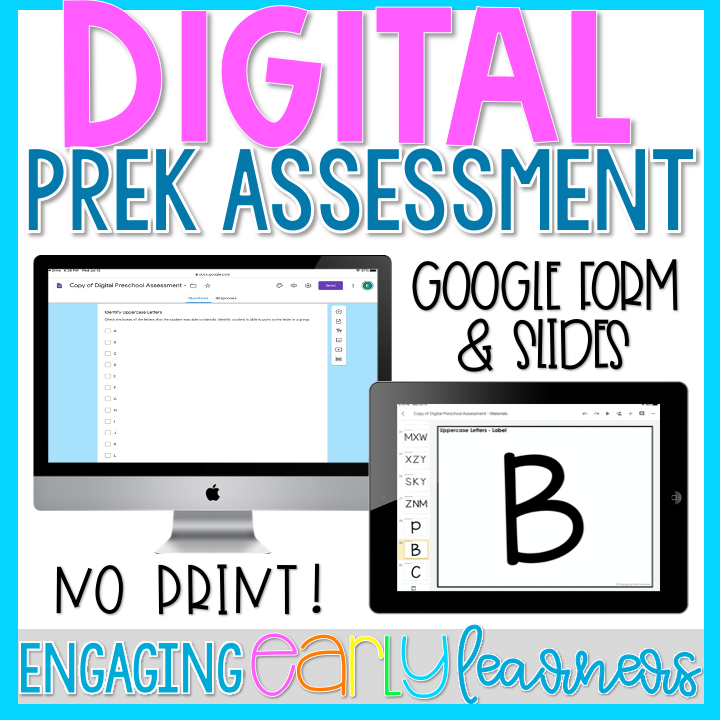
This product comes with links to a google form and two google sheets. When you click on the links you will be forced to ‘make a copy’ of the documents. By making a copy you become the owner of the google document. This means you can edit, delete, copy, add, and so much more. I included everything I could think of into this assessment. It is basically a digital version of my paper preschool assessment (pictured below). I do understand that there may be skills that you do not want to assess in this assessment. In that case, you can simply delete those slides from the google slides and delete those questions from the google form. It is completely CUSTOMIZABLE.
Product Details:
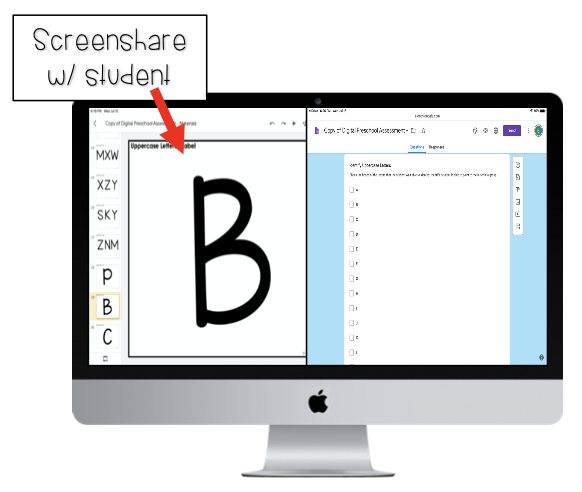
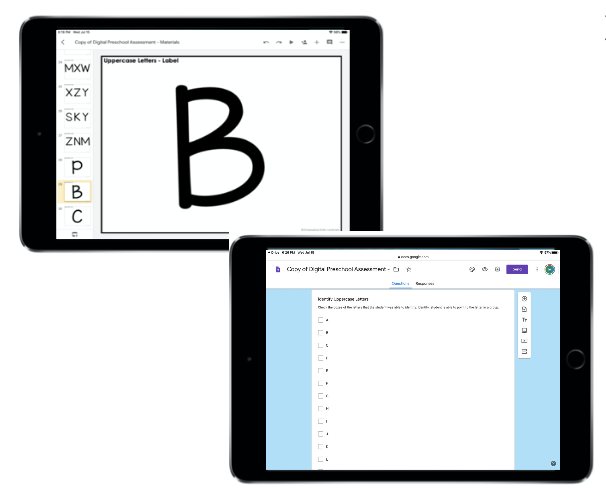
Google form: Use to track student responses to the assessment. Google forms then allows you to see your responses in a spreadsheet, which is what I would do to see all the student data. When you click the link on the last page you now have your OWN copy of this digital assessment google form. You can edit it HOWEVER you want. You can then fill out the form for each student. To see the data, go to ‘responses’ and press ‘create spreadsheet’.
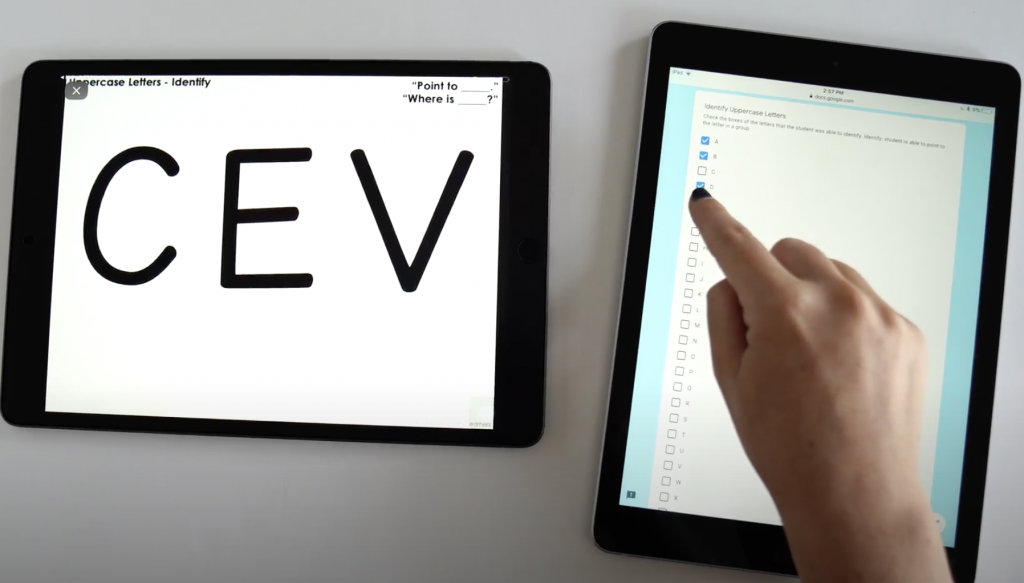
Google slides – assessment materials: Use to assess each part of the assessment. The assessment materials align directly with the google form.
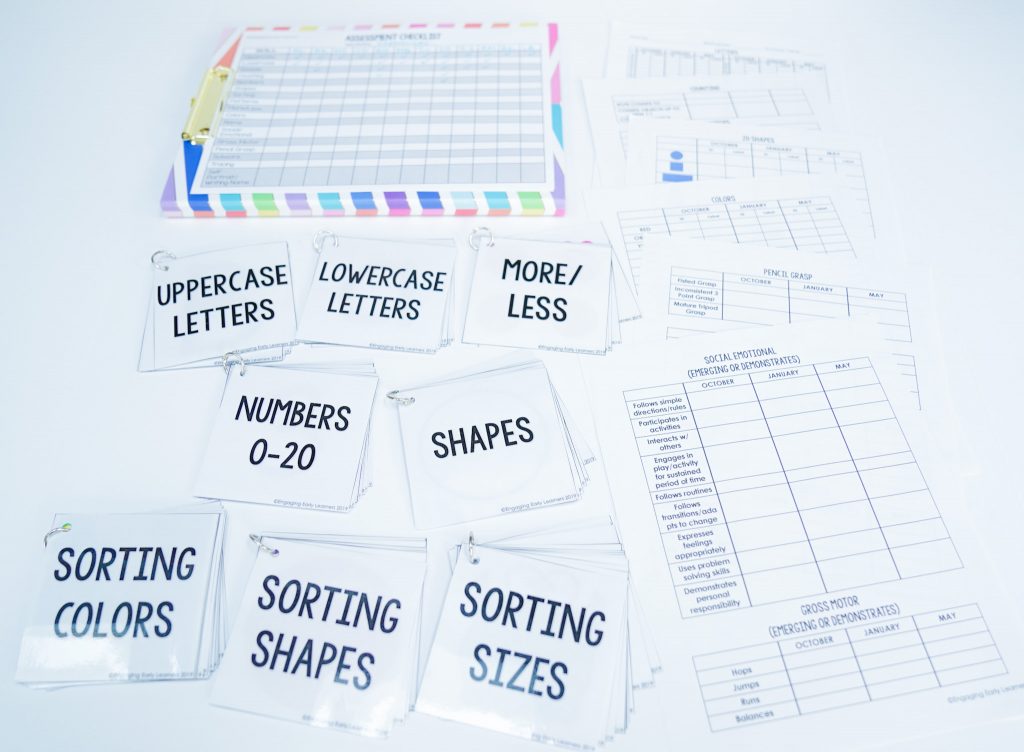
Google slides – assessment checklist: Fill in the boxes as you assess each student to help you keep track of your assessment progress.
How Can I Use This During Distance Learning?
I would screenshare the google slides with the materials. I would also have the google form up on my computer or on a separate device to track student responses as you go through the assessment.
How Can I Use This When We Are Back In The Classroom?
If you want to be completely digital, I would have 2 devices out. Have the materials google slides pulled up on one and the assessment google form pulled up on the other.
OR
Use the paper assessment and the digital google slides materials
OR
Use the digital assessment google form with the printed and prepped materials
What Skills Are Included In The Digital Assessment?
- ID and Label Uppercase Letters
- ID and Label Lowercase Letters
- Letter Sounds
- Rote Counting
- Counting with 1:1 Correspondence
- ID and Label Numerals 0-20
- ID and Label Shapes
- Sorting Colors, Shapes, Sizes
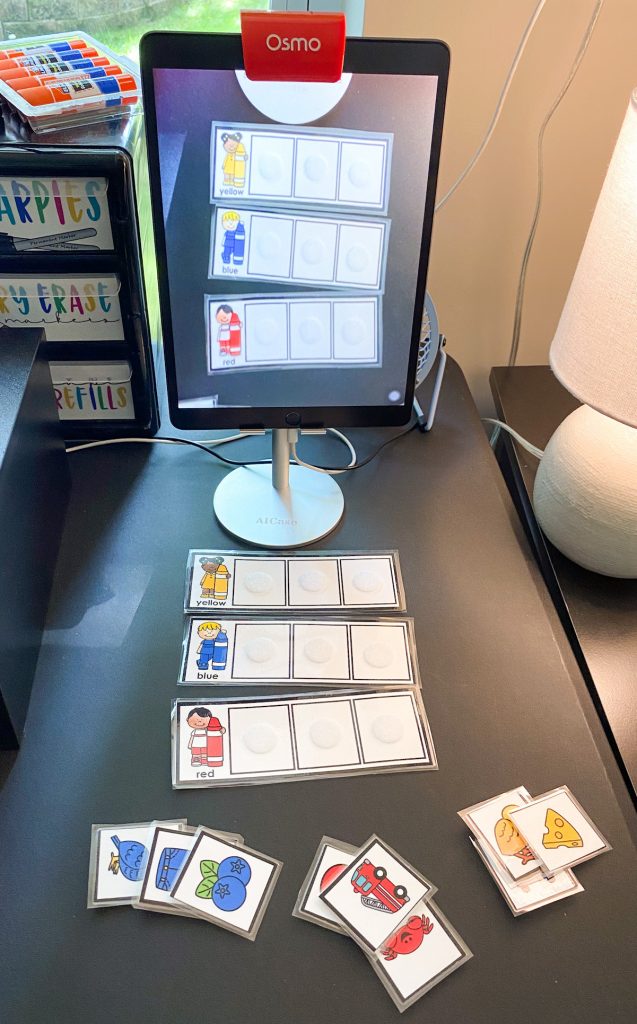
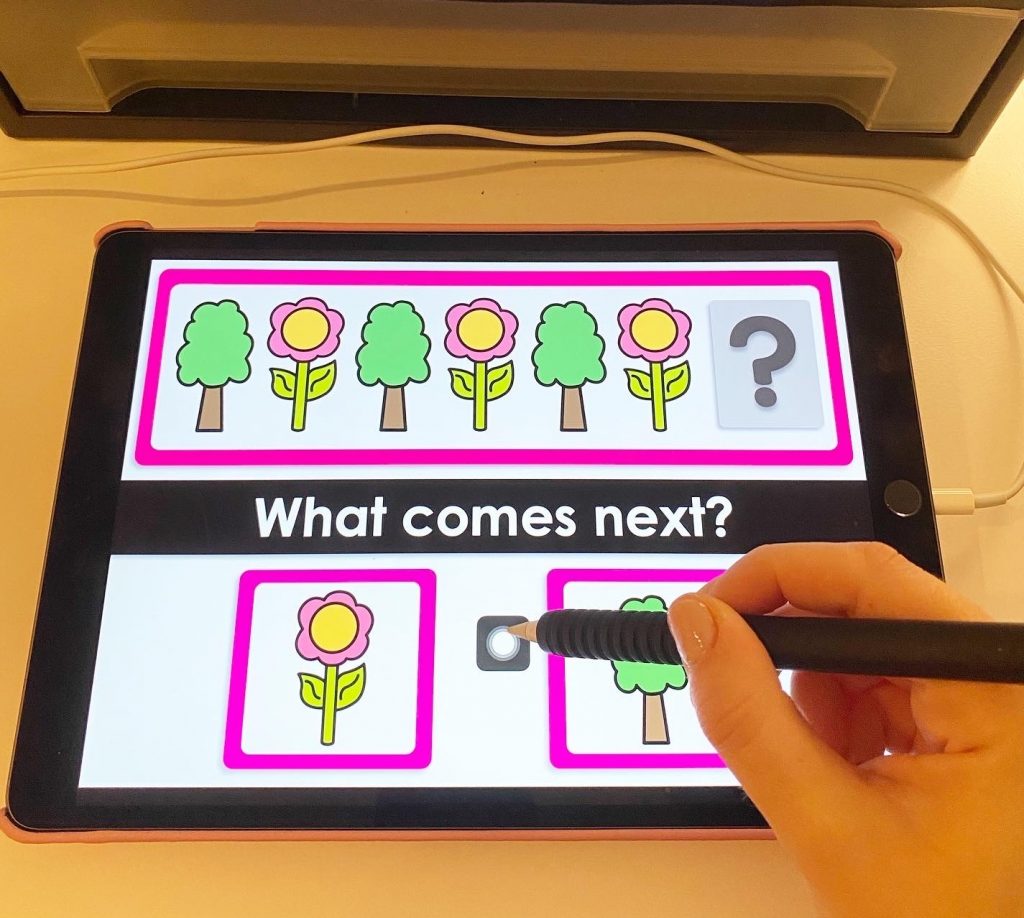
- Patterns
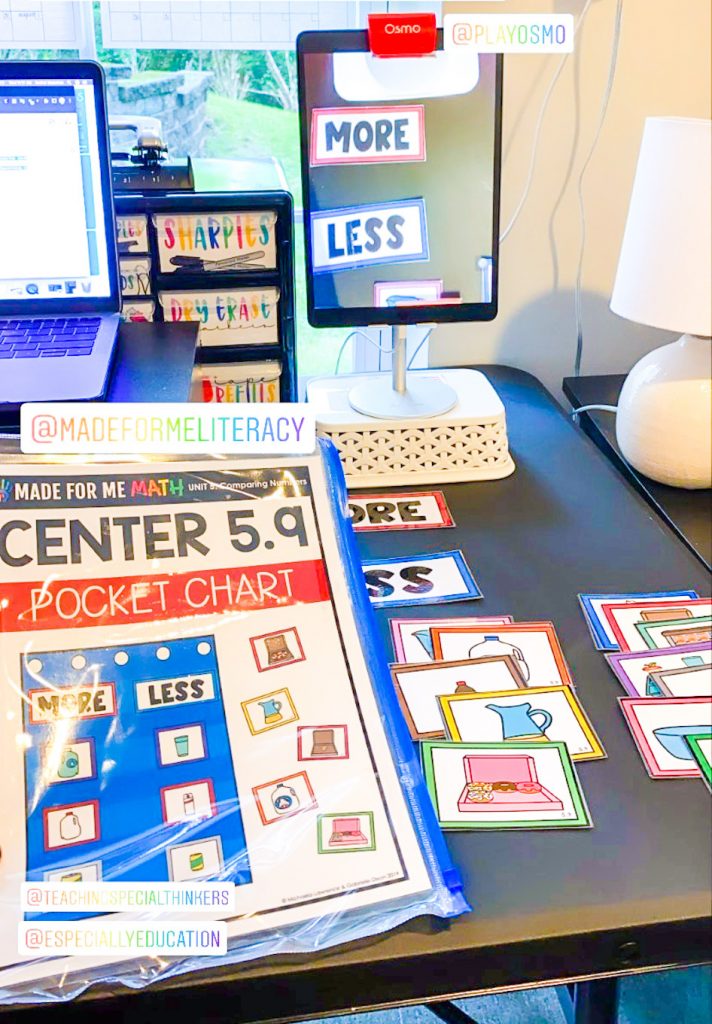
- More/Less
- ID and Label Colors
- Name Recognition
- Writing Name
- Gross Motor Skills
- Pencil Grasp
- Drawing Skills
- Handwriting Skills
- Scissor Skills
- Developmental Handwriting Strokes
- Student Self Portrait
- Student Handwriting Sample
- Social/Emotional Skills
PURCHASE THE DIGITAL ASSESSMENT NOW!
To see more about the digital assessment head to my Instagram page or my Facebook Group!
As always, if you have any questions please email me or message me on Instagram!